![]()
Installation Guide for Universal 16-pin (OBD II ) T-harness ( HRN-GS16K22-A )
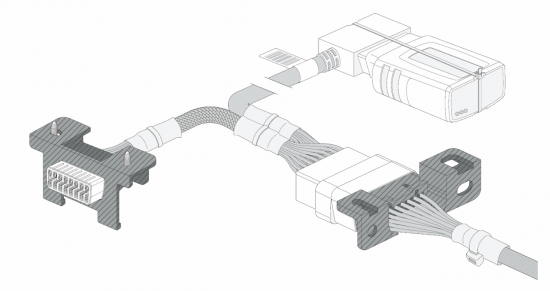
The OBD II T-harness ( HRN-GS16K22-A ) is used as a way to free up the OBDII port. Using this harness allows the device to be placed behind the dash. It is very easy to install. You can install the T-Harness by following these instructions.
To install the 16-Pin T-Harness:
- Find the diagnostic port. On the driver’s side check under the dashboard, usually that is where it is located. It will either be connected using screws or it snaps into place. Either unsnap the port or remove the screws. Then one end of the 16-pin harness will need to be connected to the diagnostic port.
- The other end of the T-Harness needs to be connected to your device. Two of the lights on the device will briefly flash.
- Use a zip tie to fasten the device in place.
- [Make sure the vehicle parked outdoors. This will help get a GPS Signal and exhaust fumes will be vented], turn on the ignition. You will see two LEDs start flashing (Green is GPS latch and Red for Cell connection). Both LEDs need to turn on and stay on. The device is now properly connected.
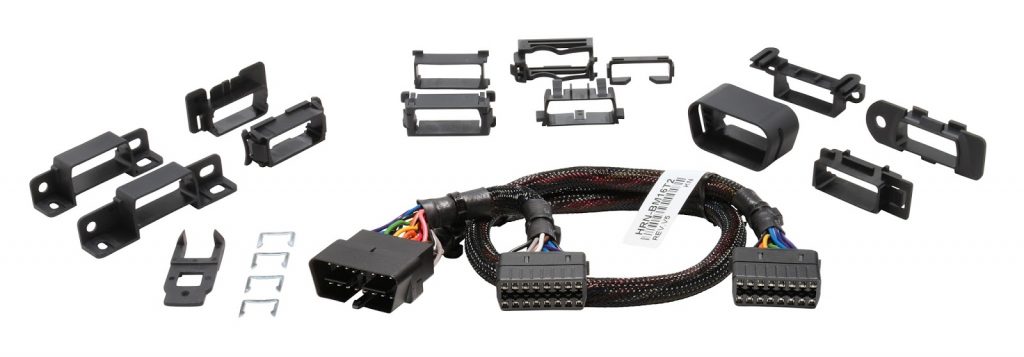
- Decide on a permanent location under the dash. Zip tie the device and harness there. The device must not move in any way so that data quality is maintained. Select the correct plate that fits the port and screw or snap it into place. You have finished the installation.

Complete Setup

Universal 16 pin OBDII T-Harness Kit for the GO device
You can purchase the Universal 16-Pin (OBD II) T-Harness (HRN-GS16K22-A) here: T-Harness (HRN-GS16K22-A)
For the GPS Location to register properly you may need to take a short drive (5 minutes, above 15km/h) after the device is plugged in. You can check the map in the system or call us during our business hours to verify.
After this short drive, all of the lights should stay on until you turn off the vehicle.


