Description
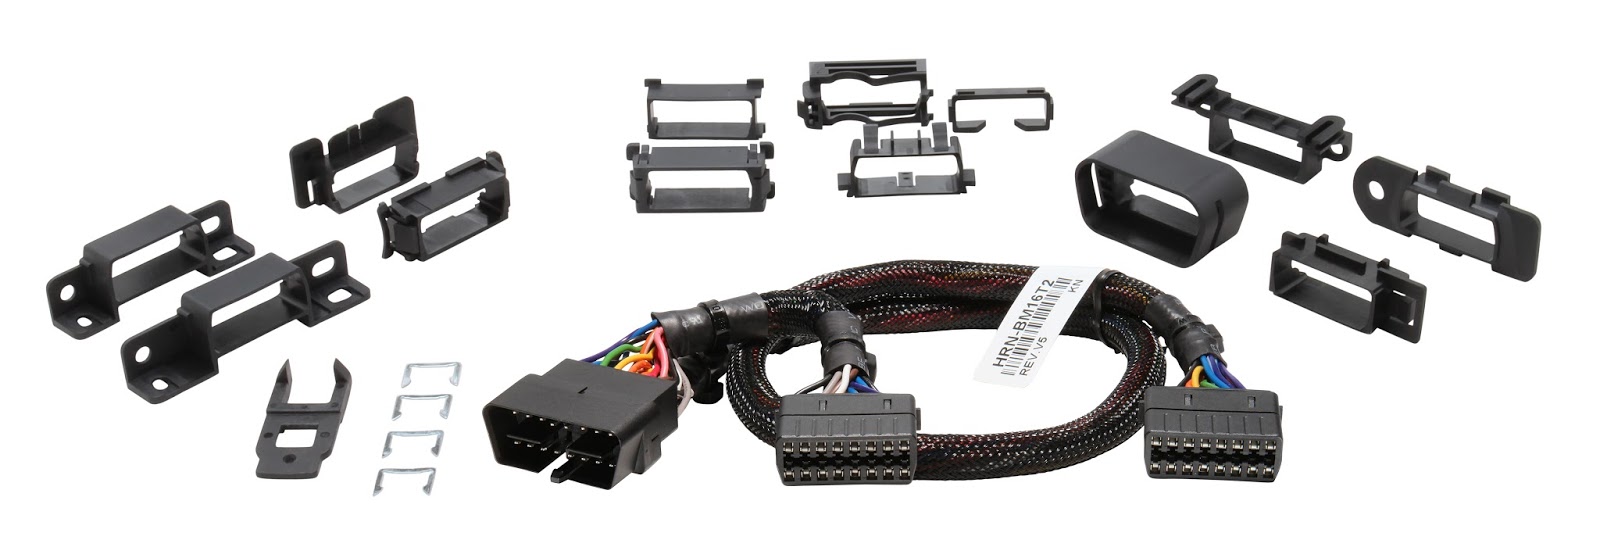
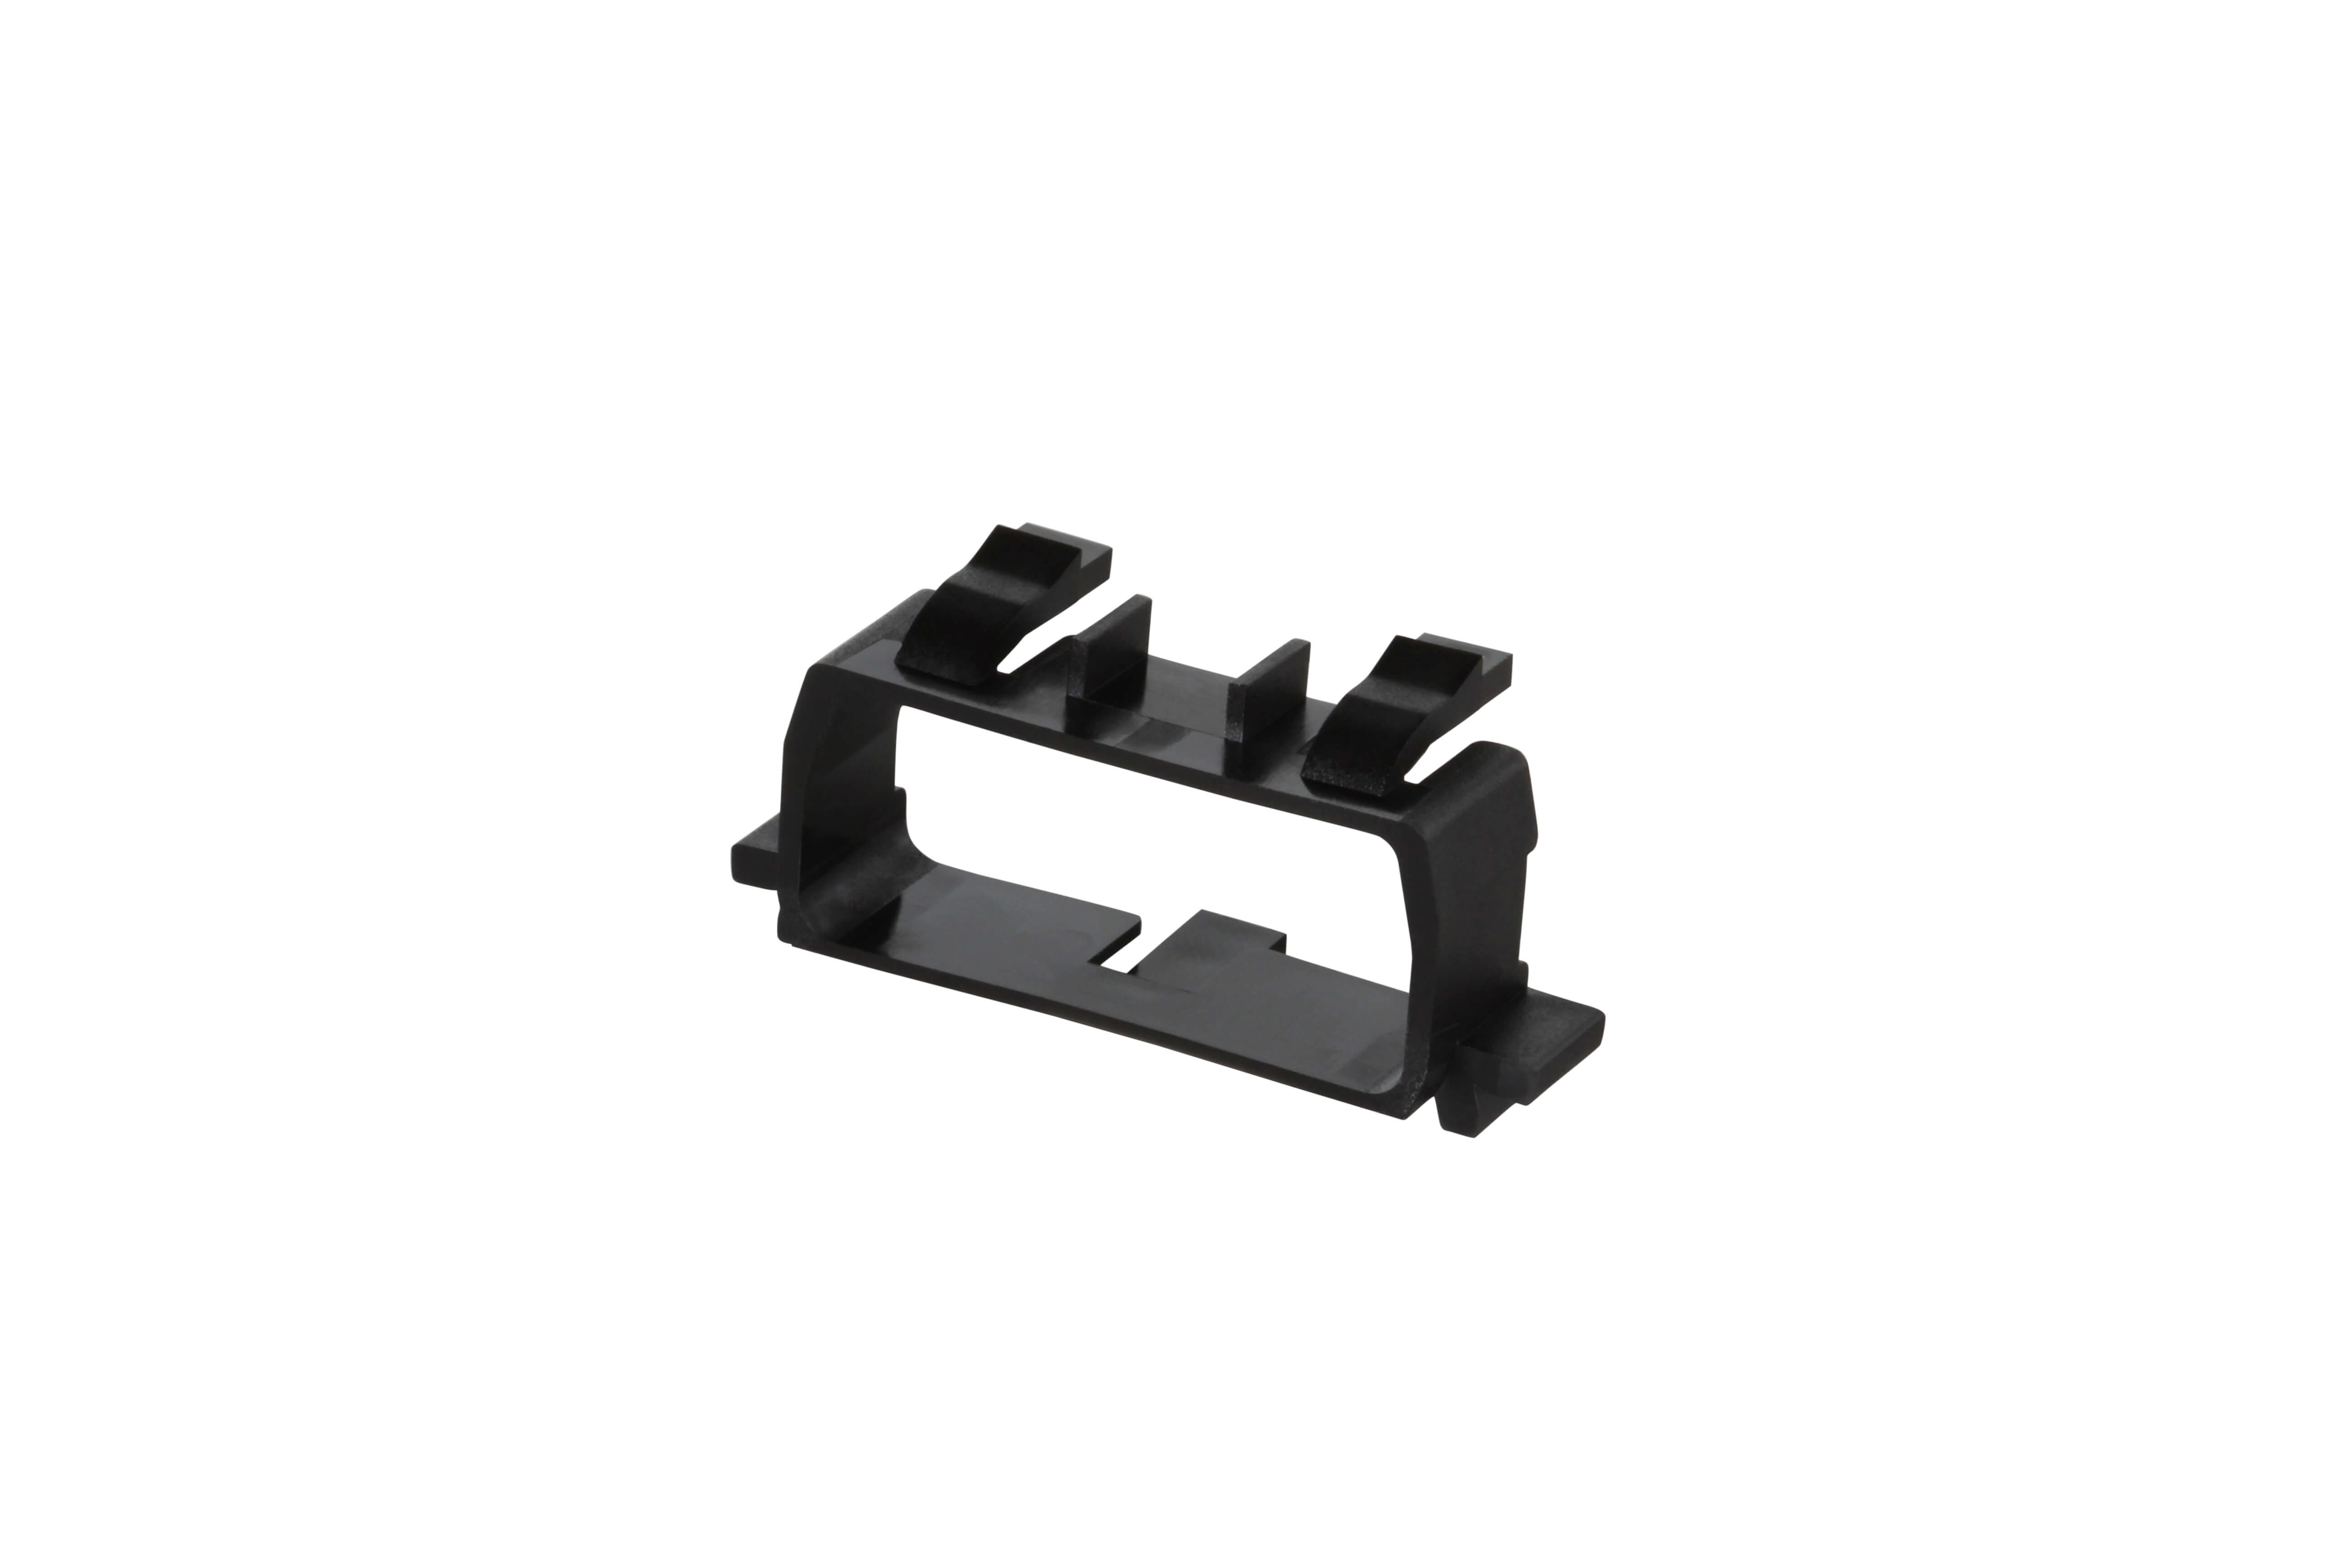
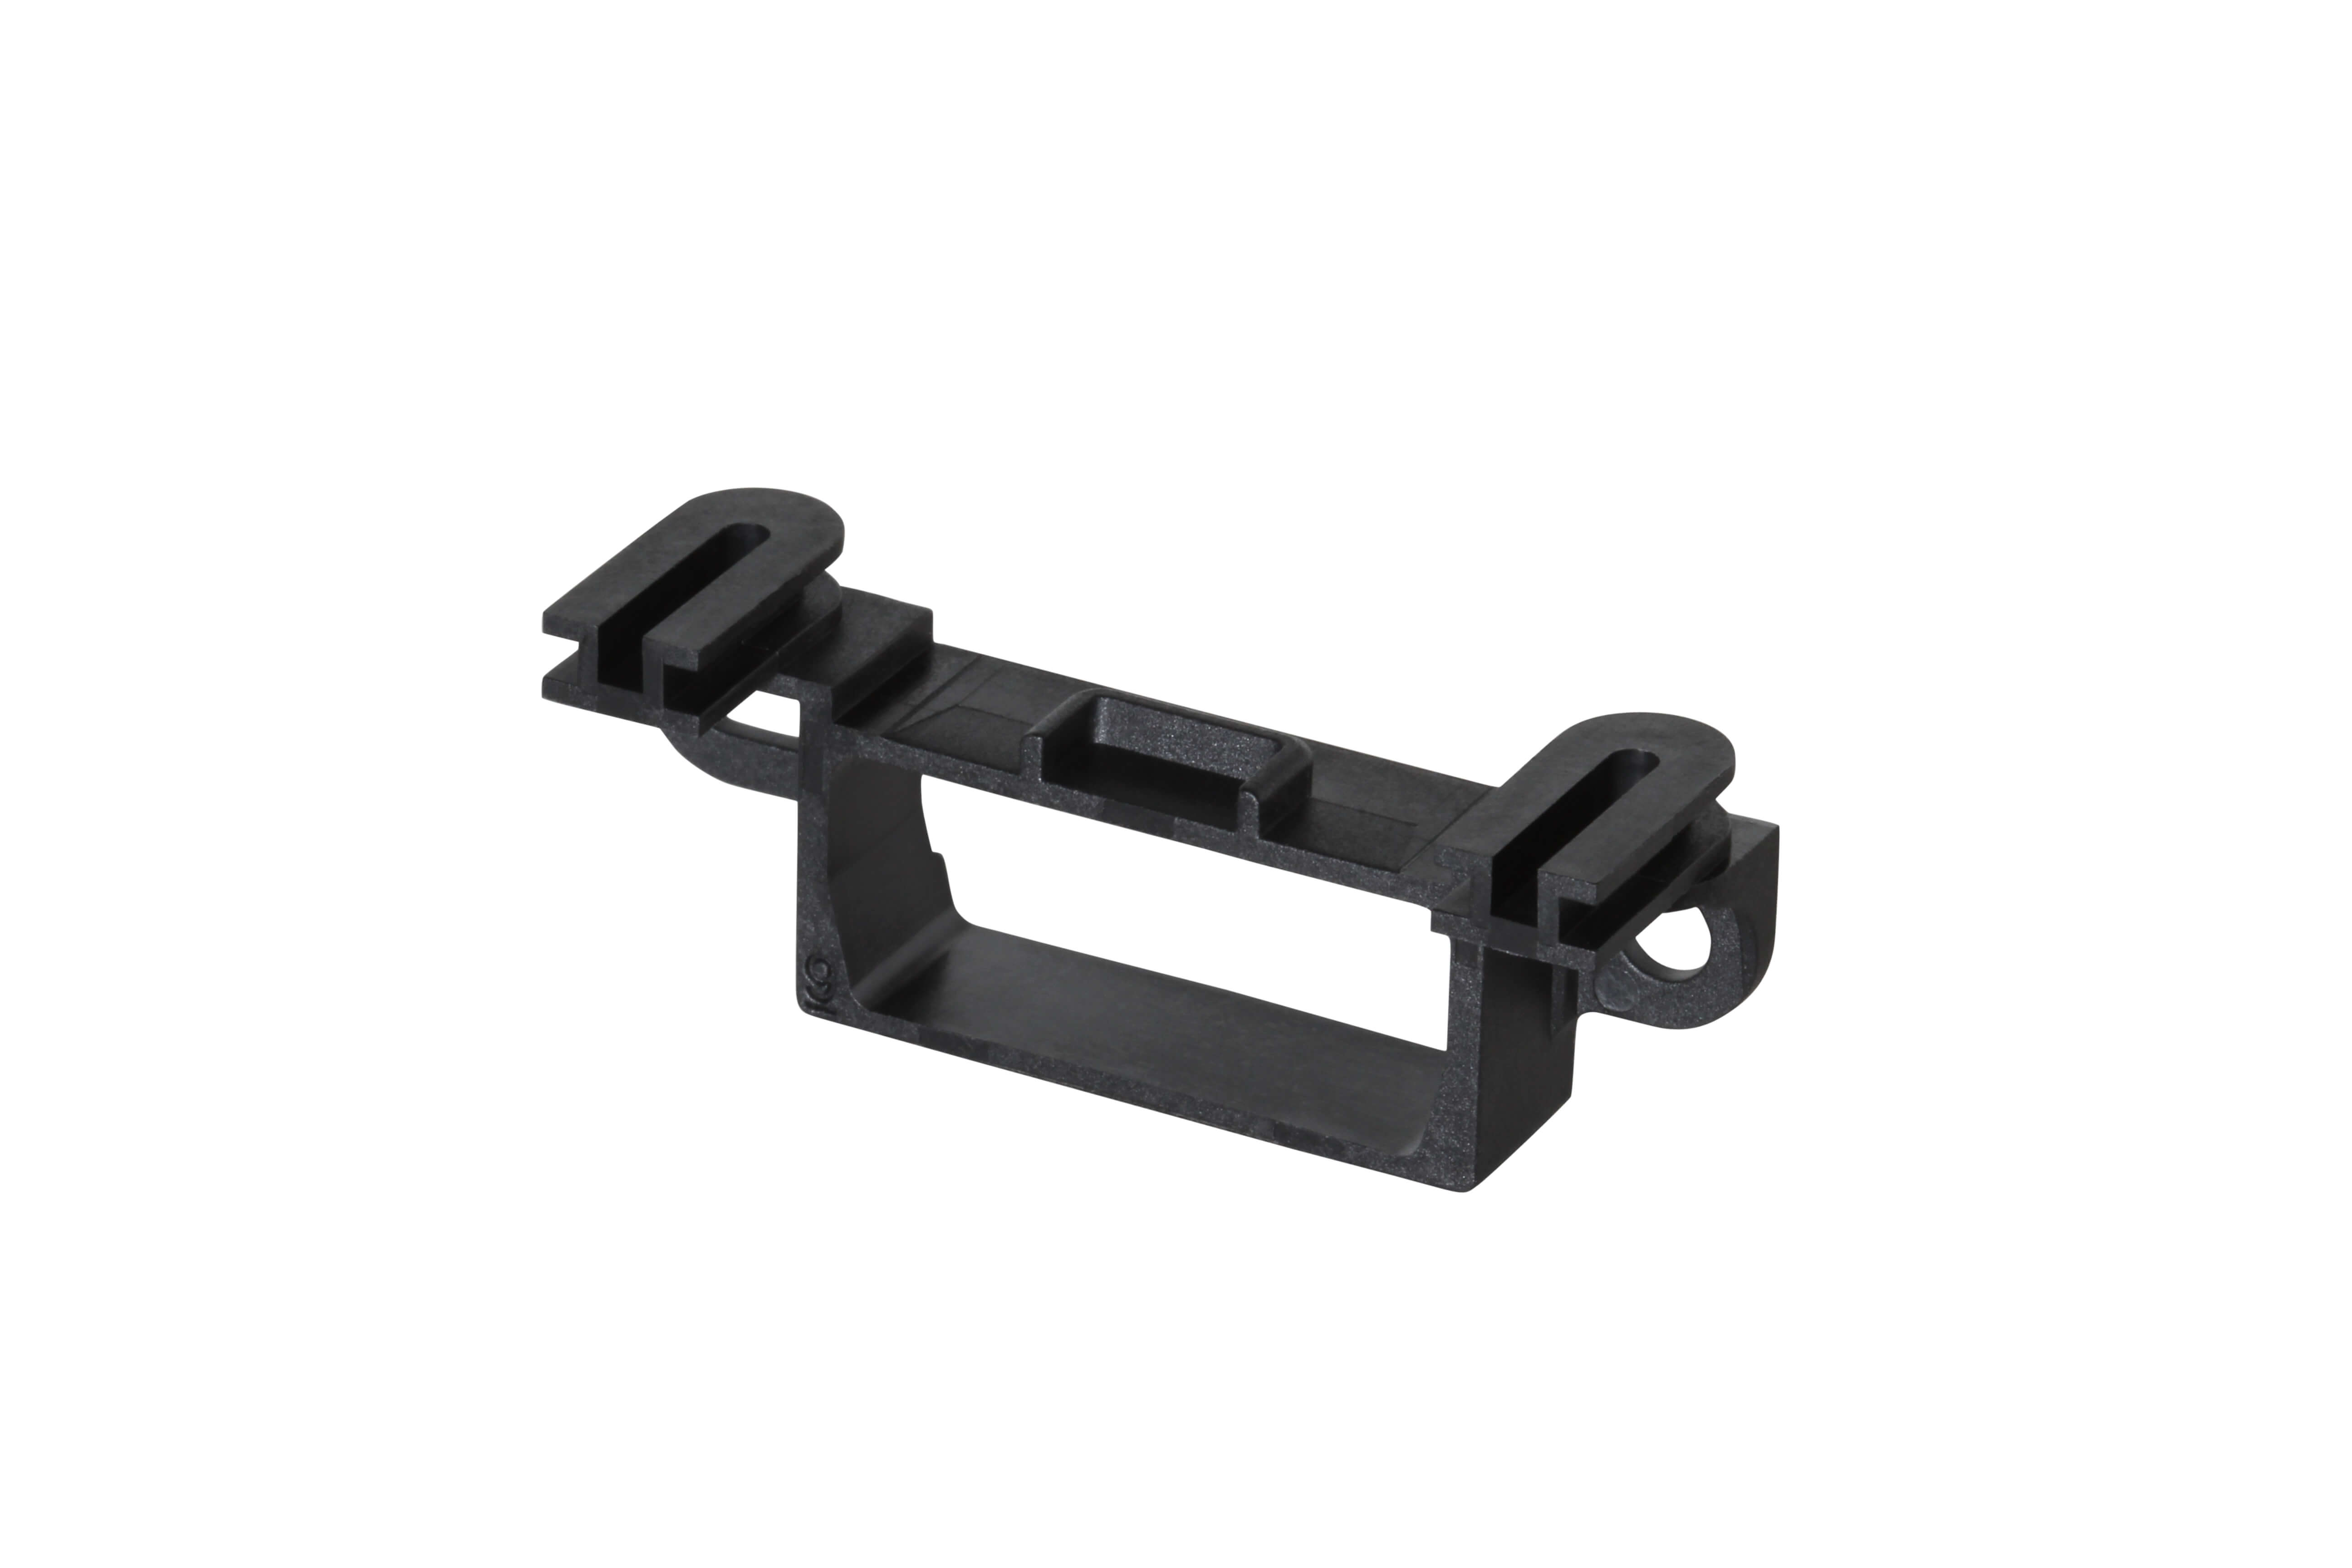
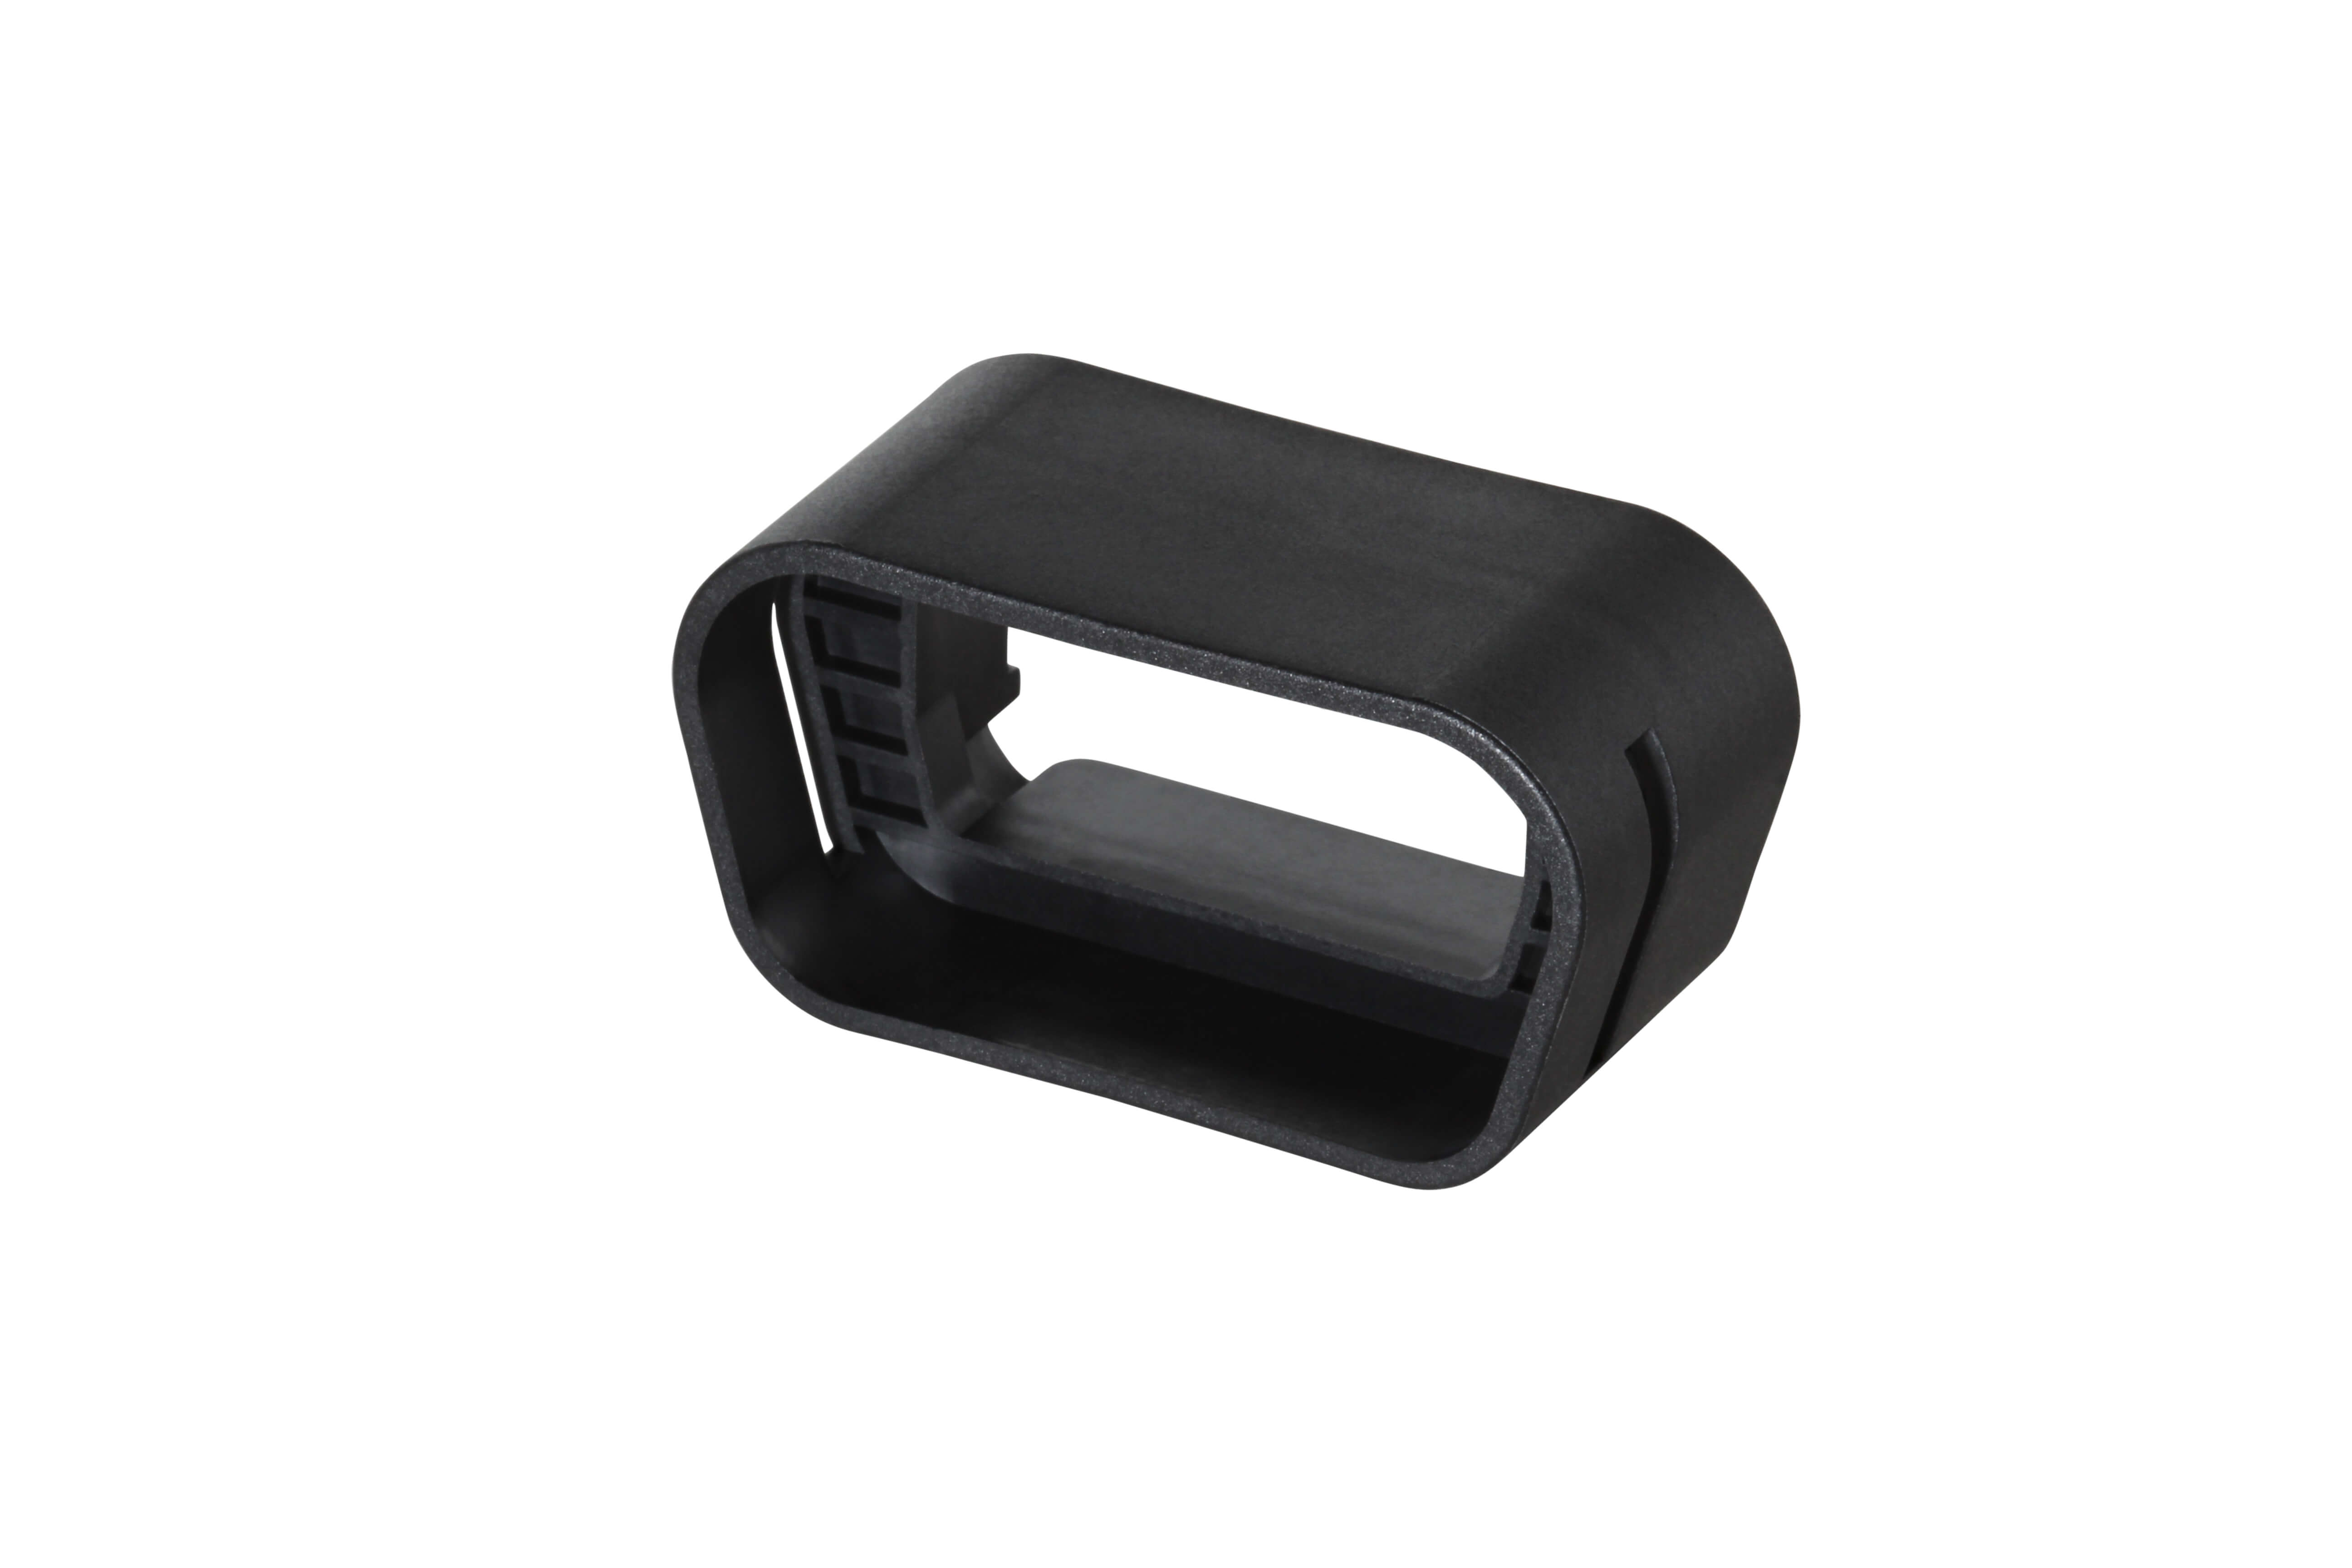
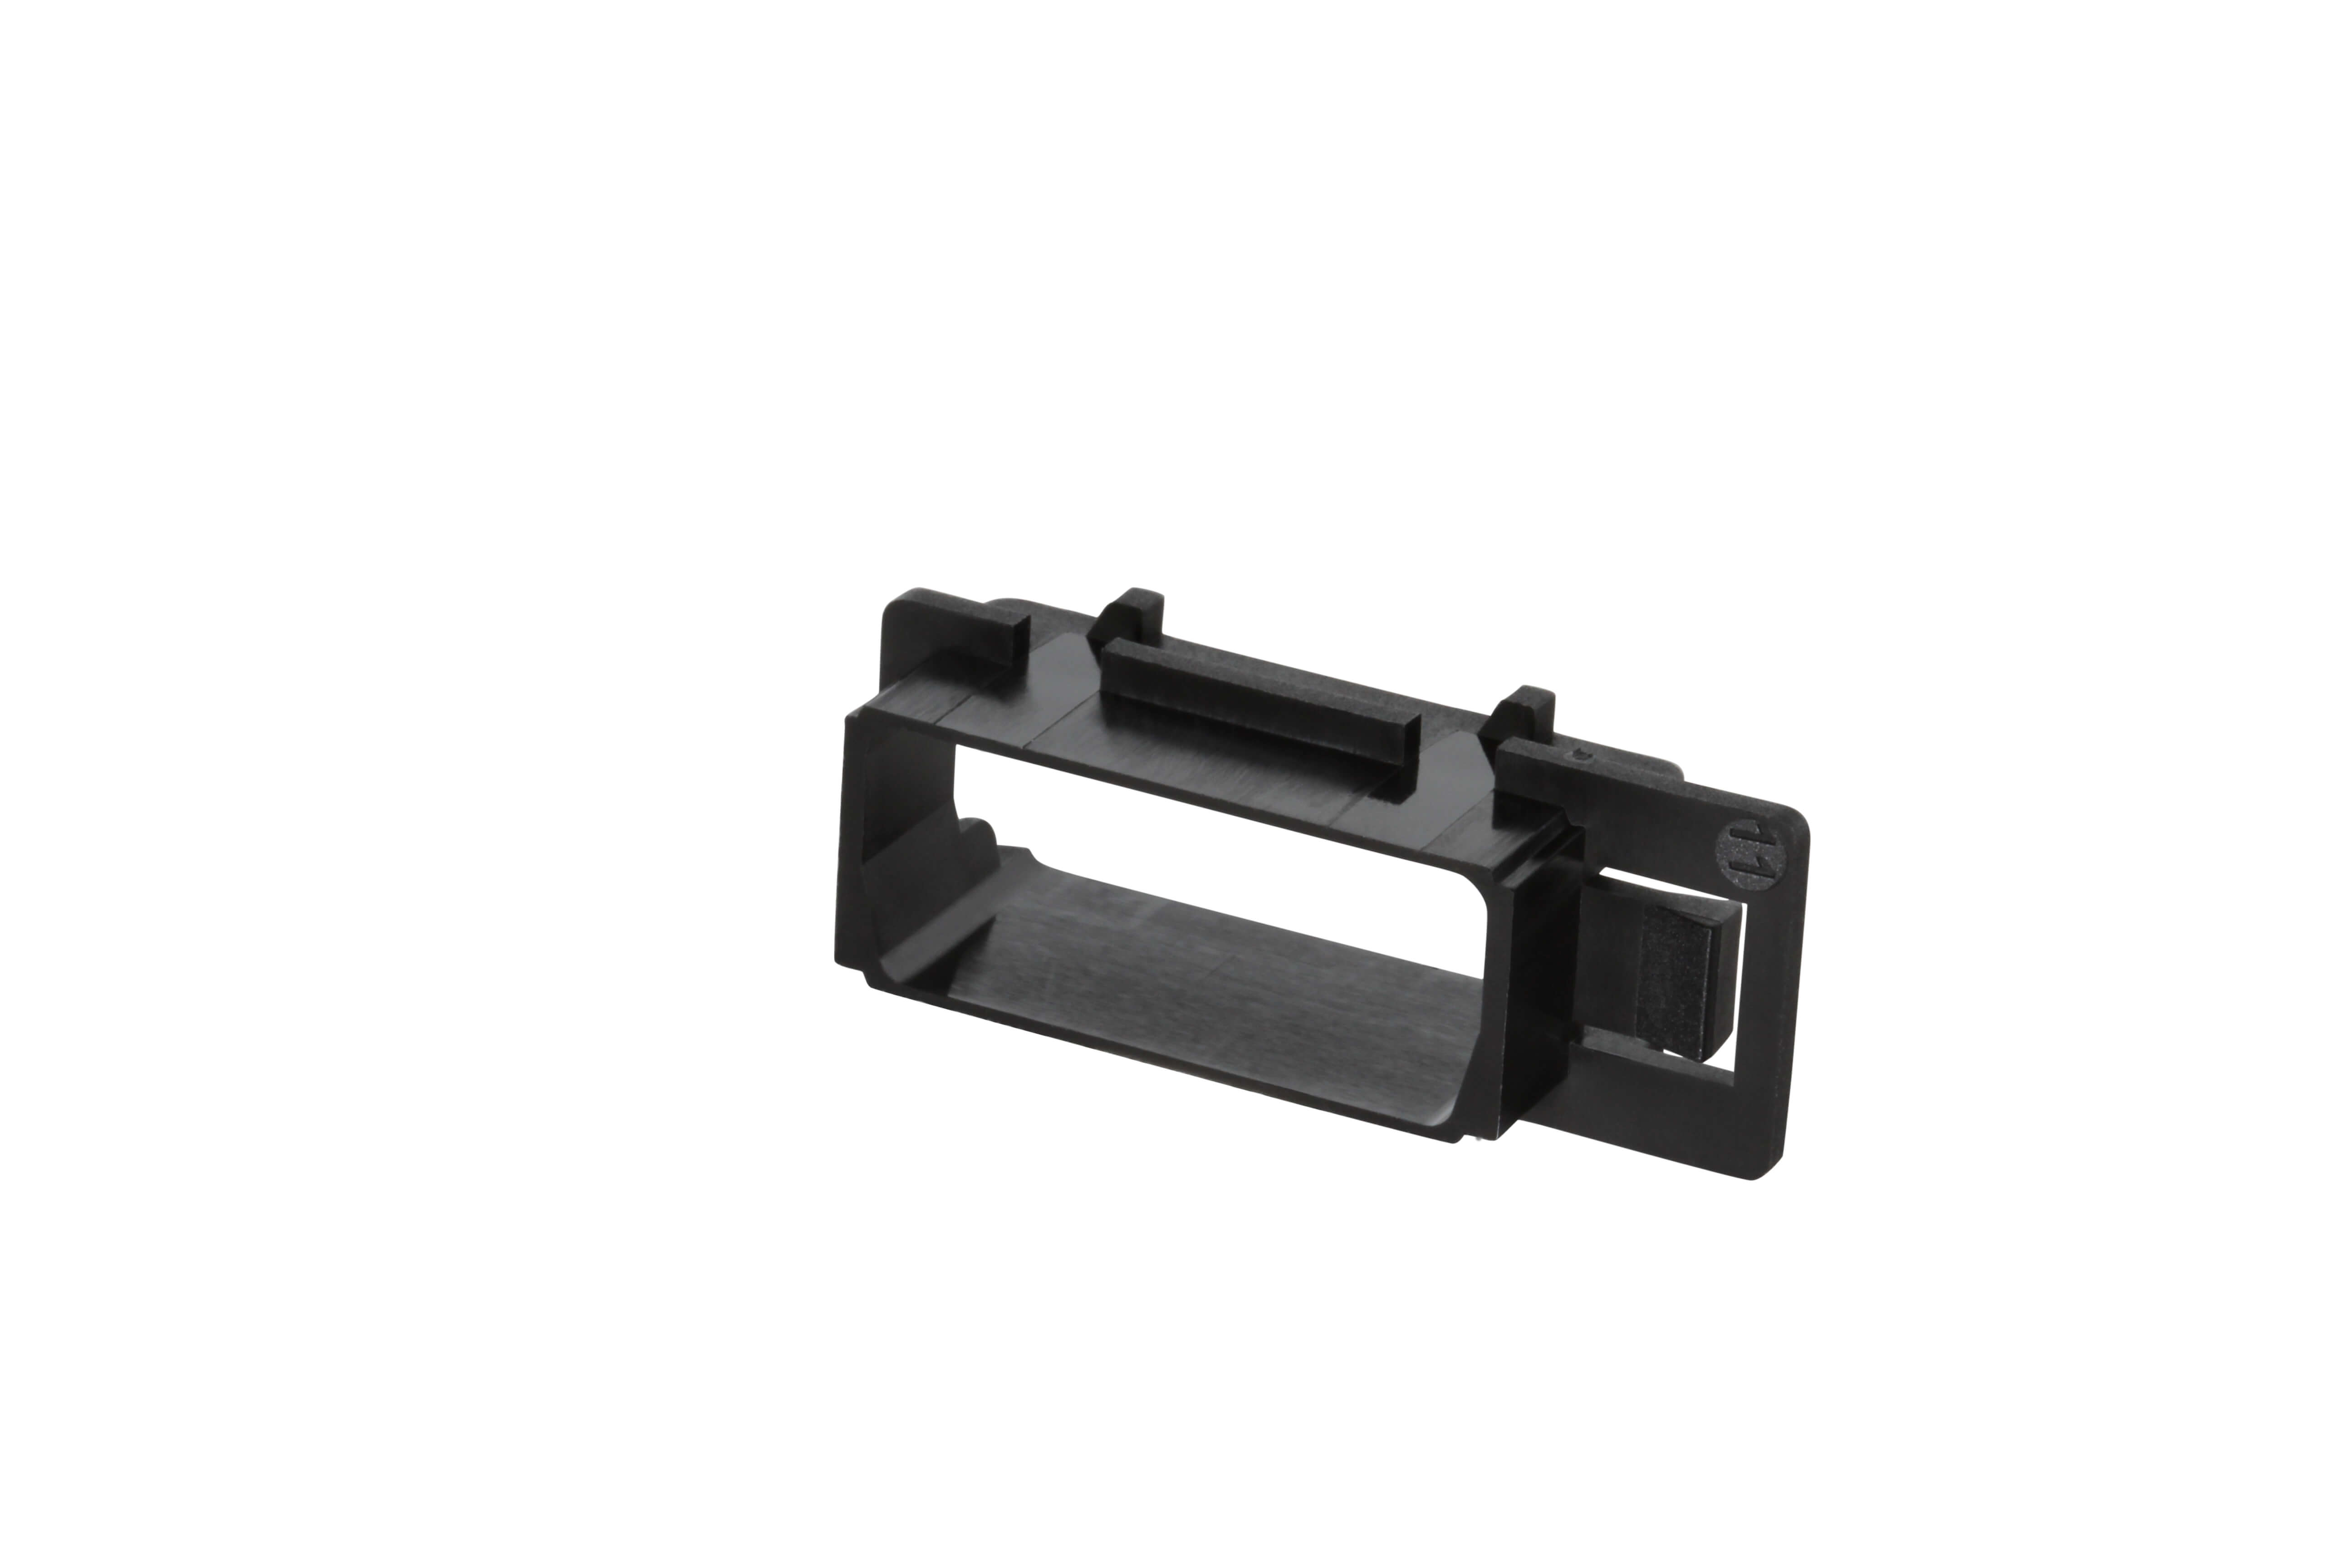
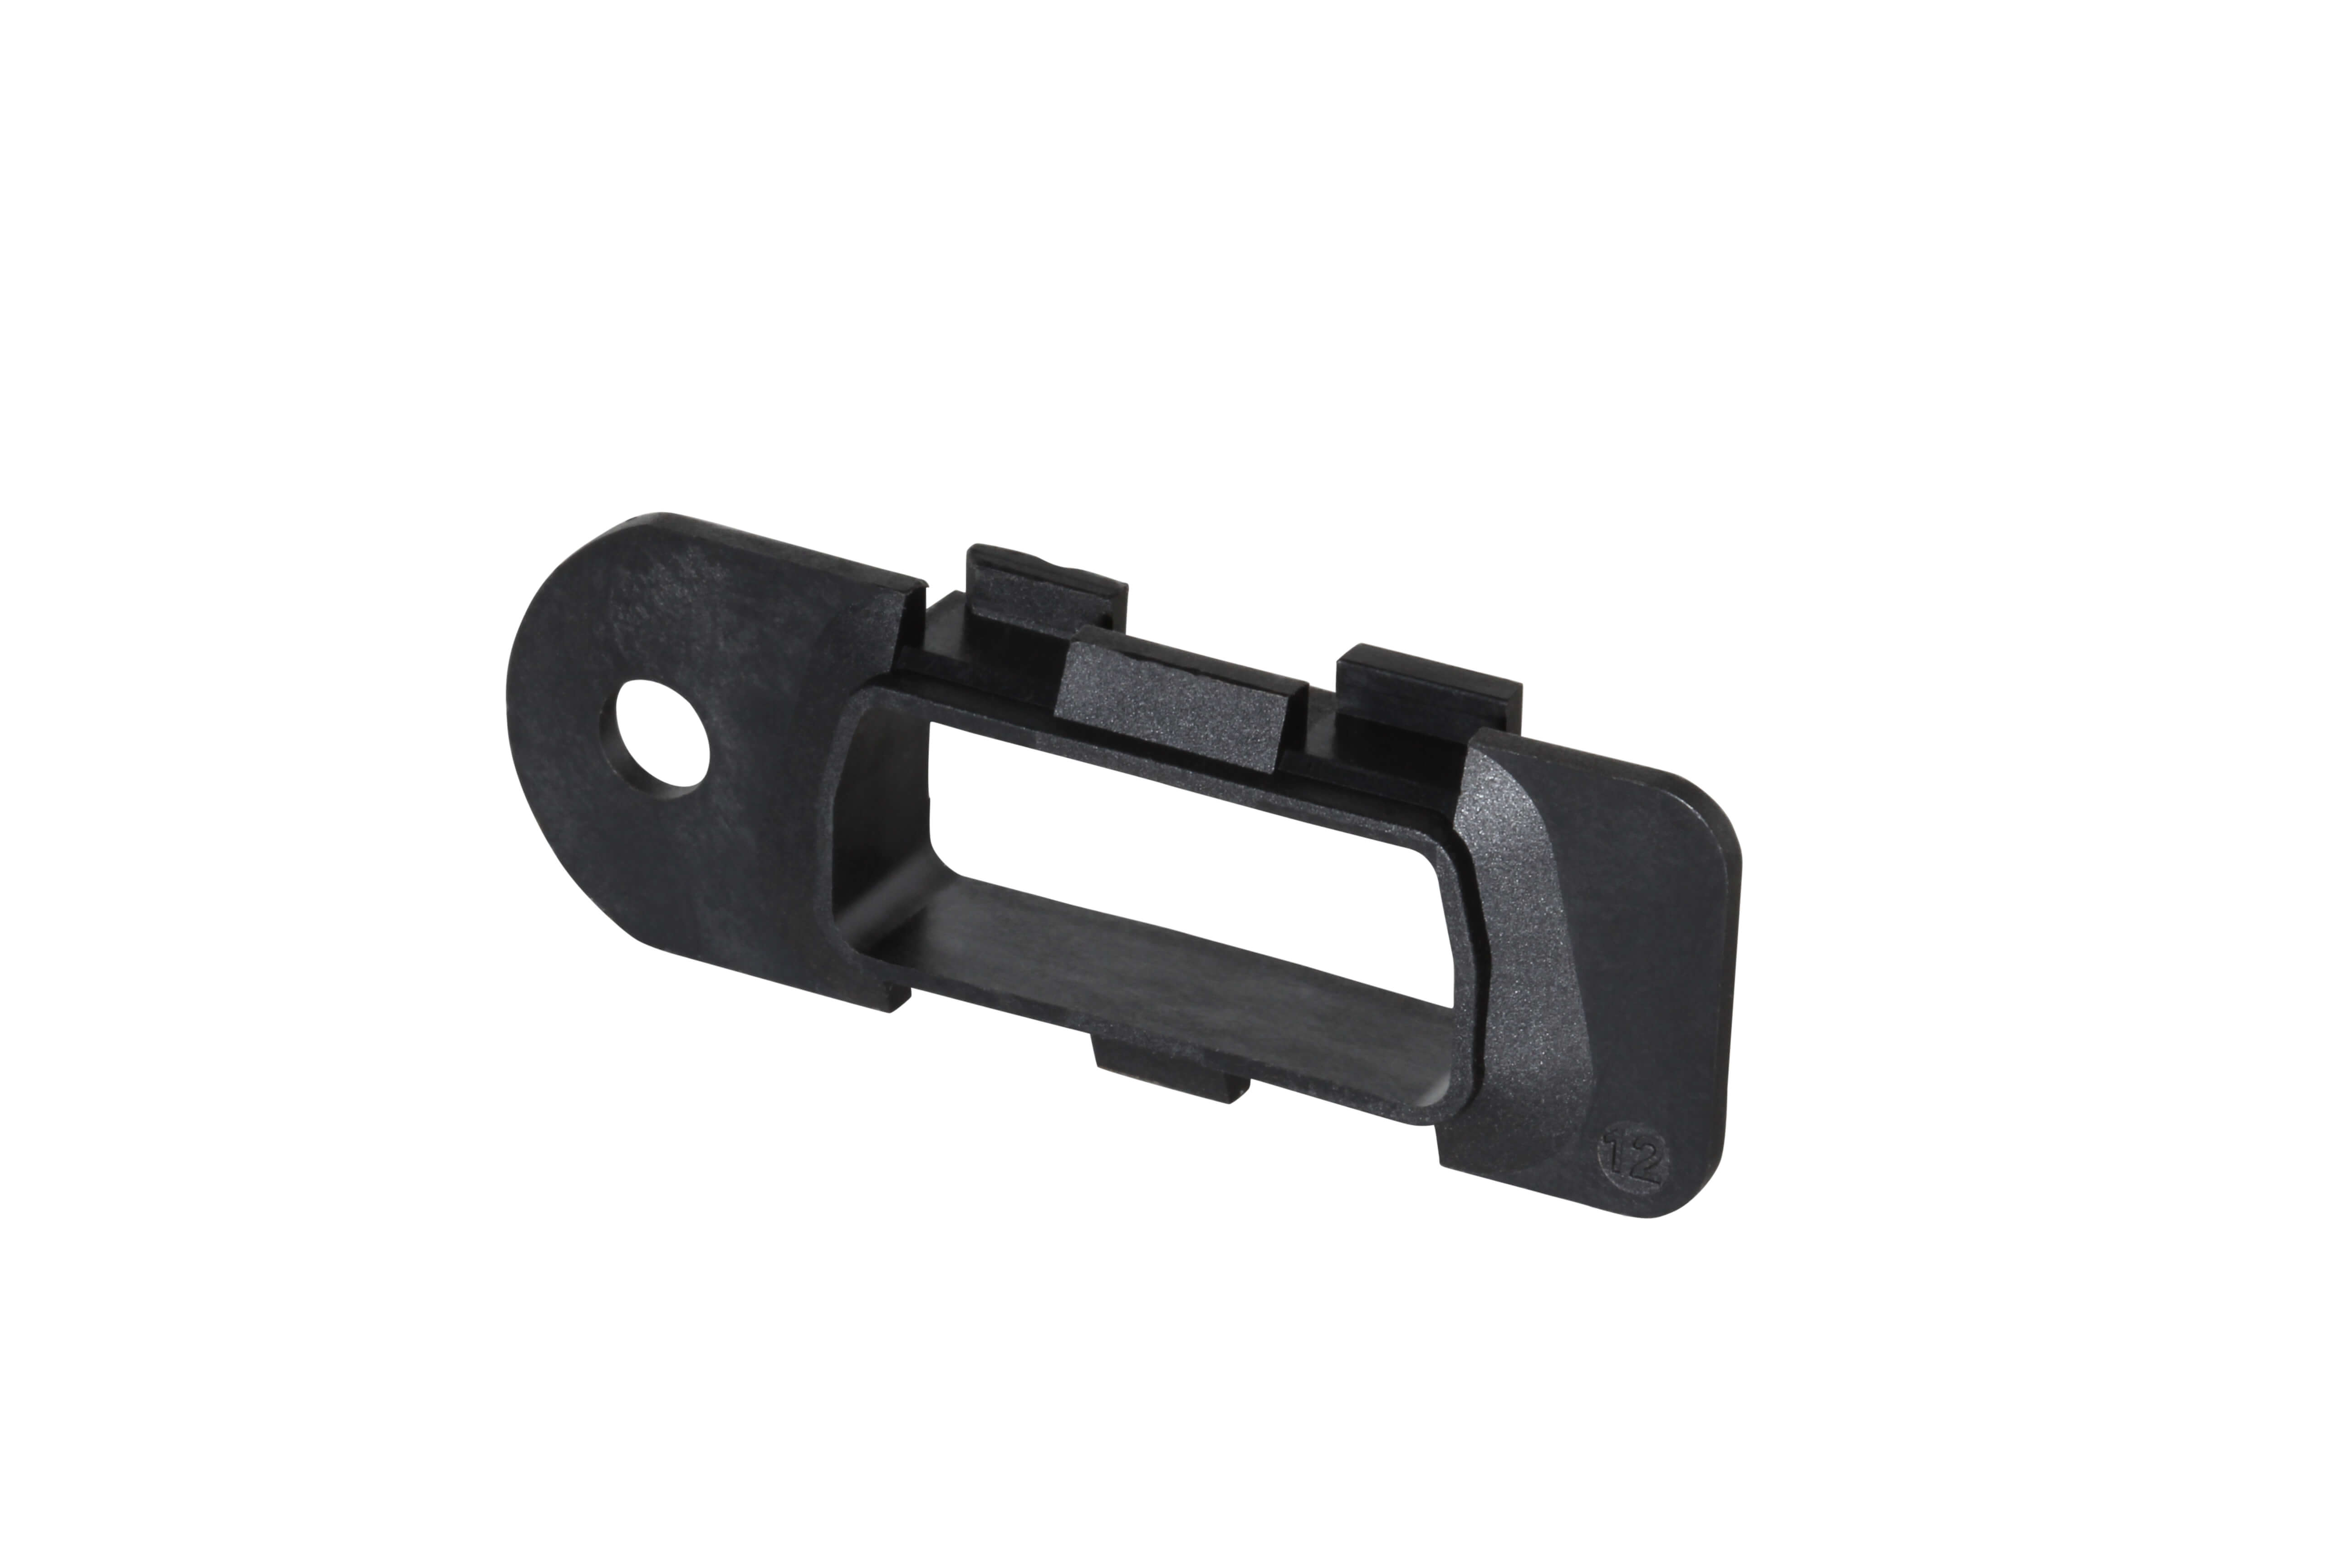
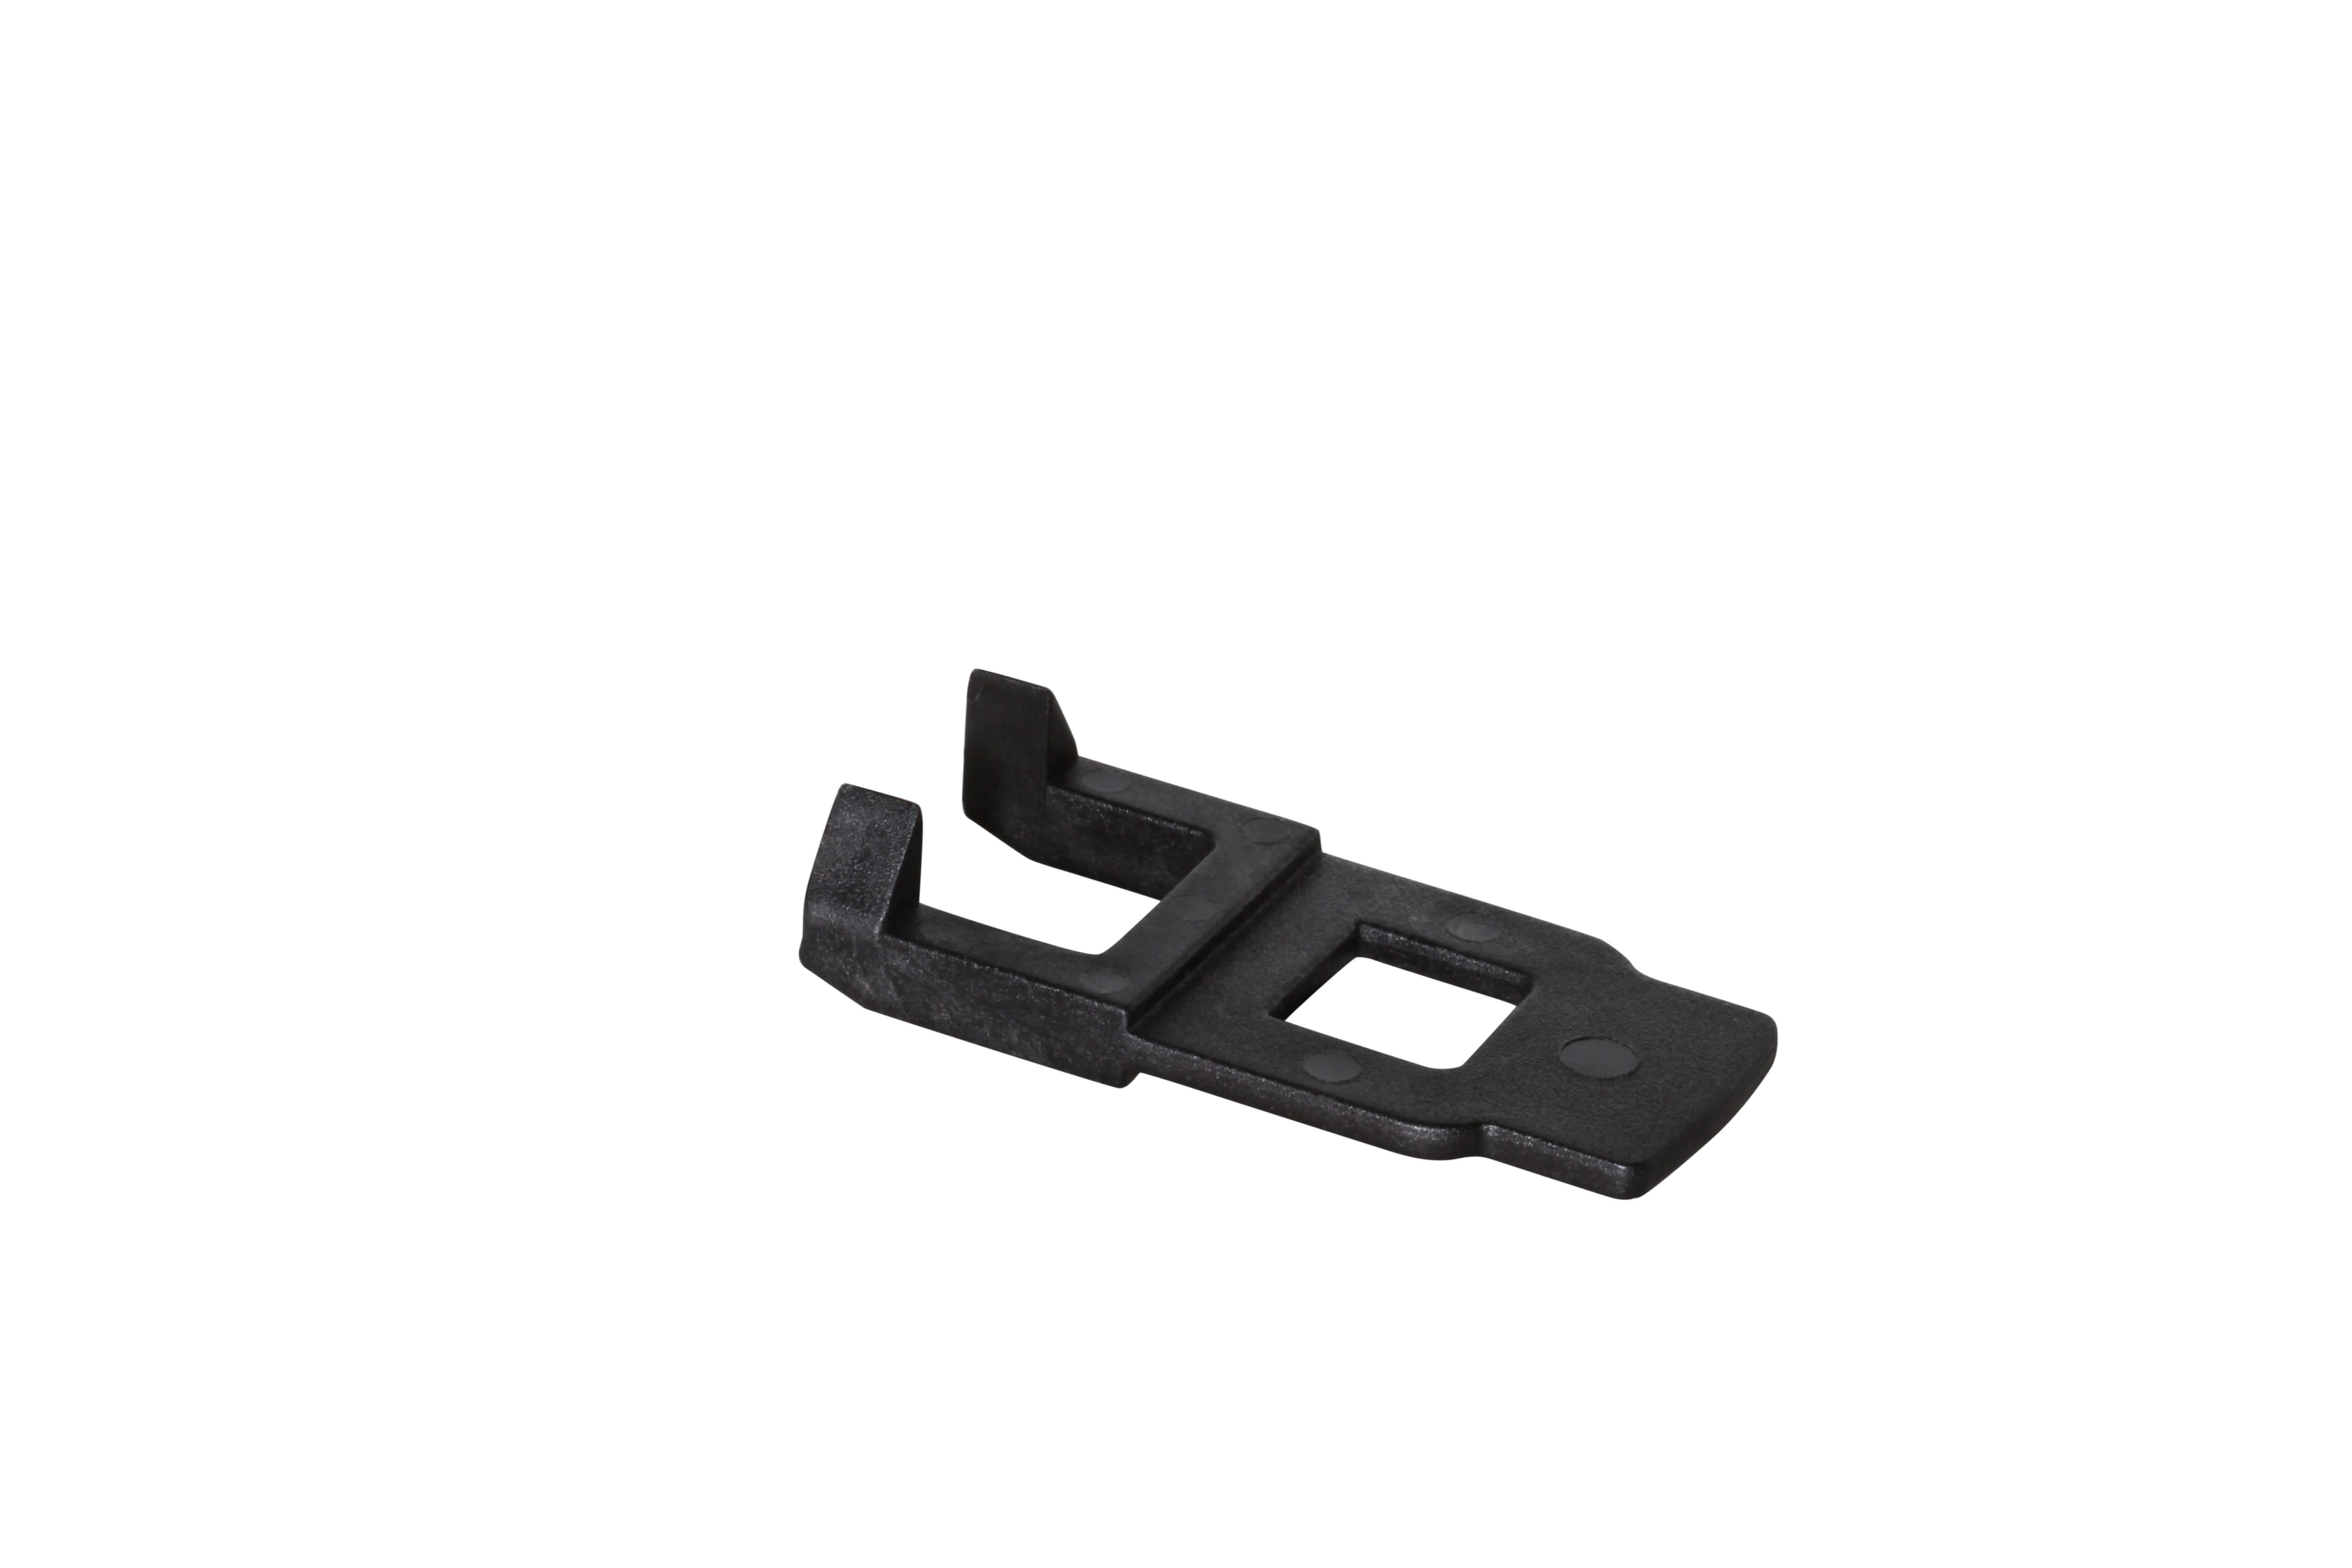
Universal OBDII T-Harness kit (model HRN-GS16K22-A) for Geotab GO tracking device. This multi-connector kit includes a T-harness and twelve different mounting adapters for use in most light-duty and medium-duty international vehicles.
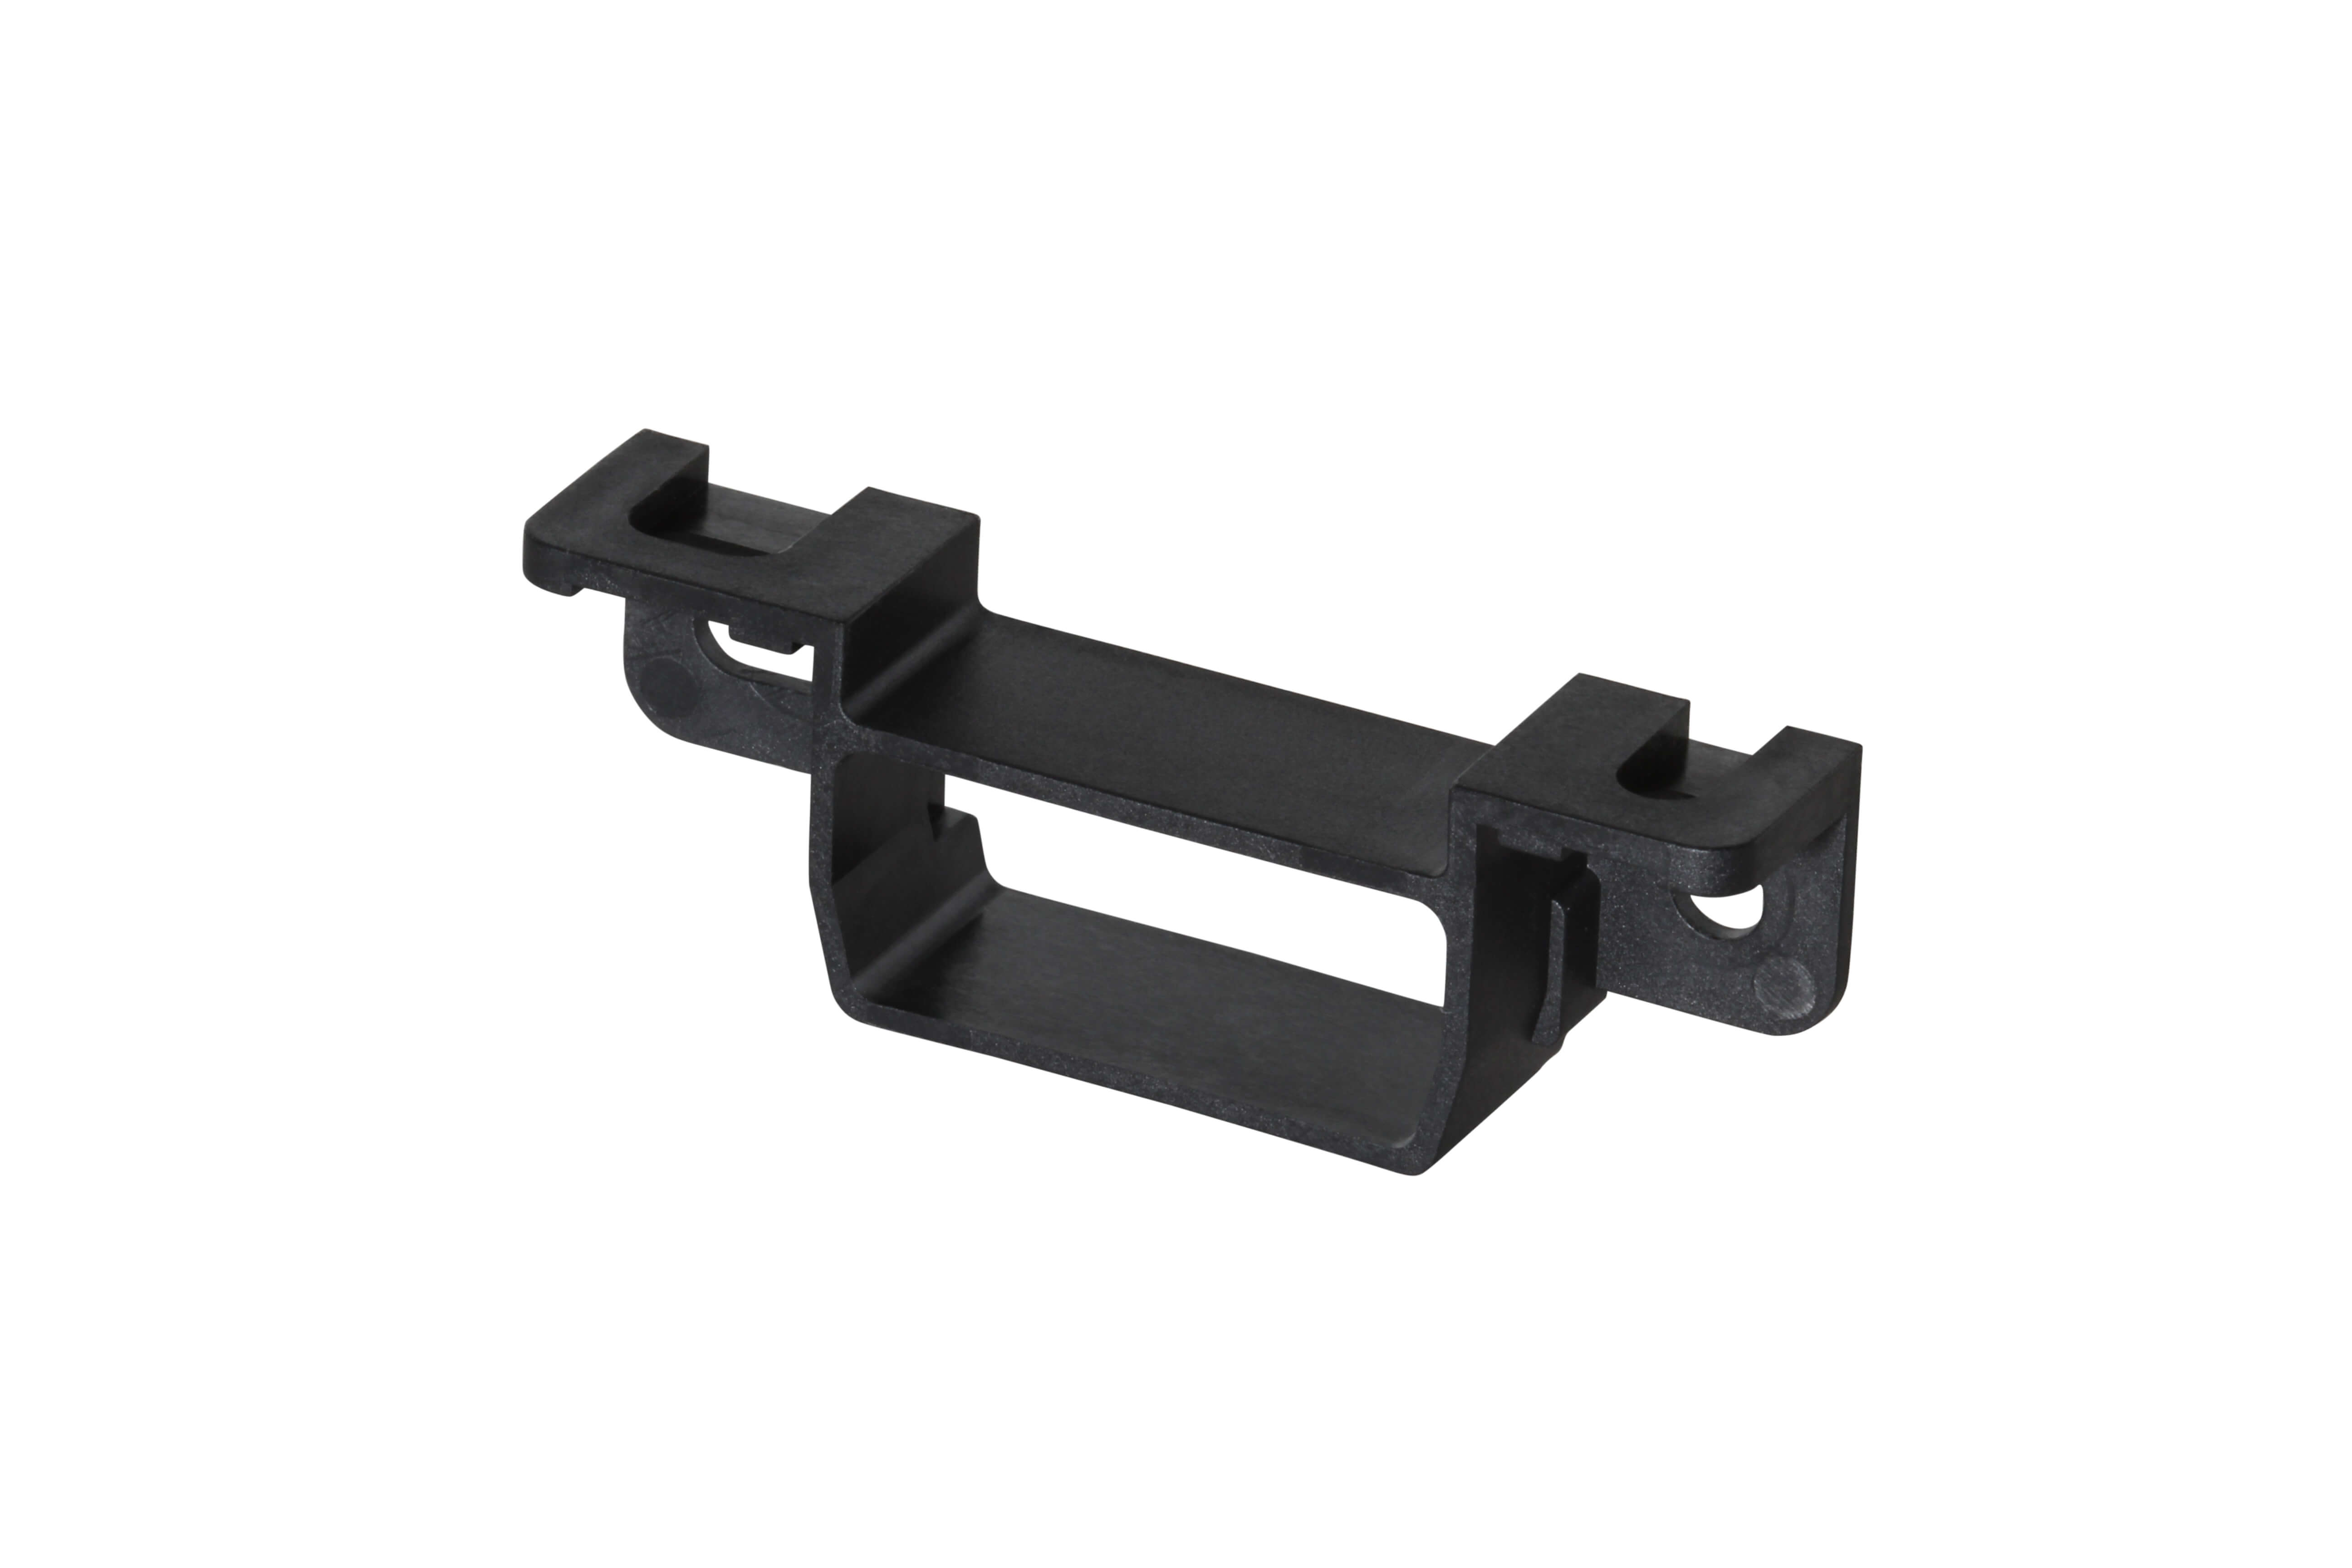
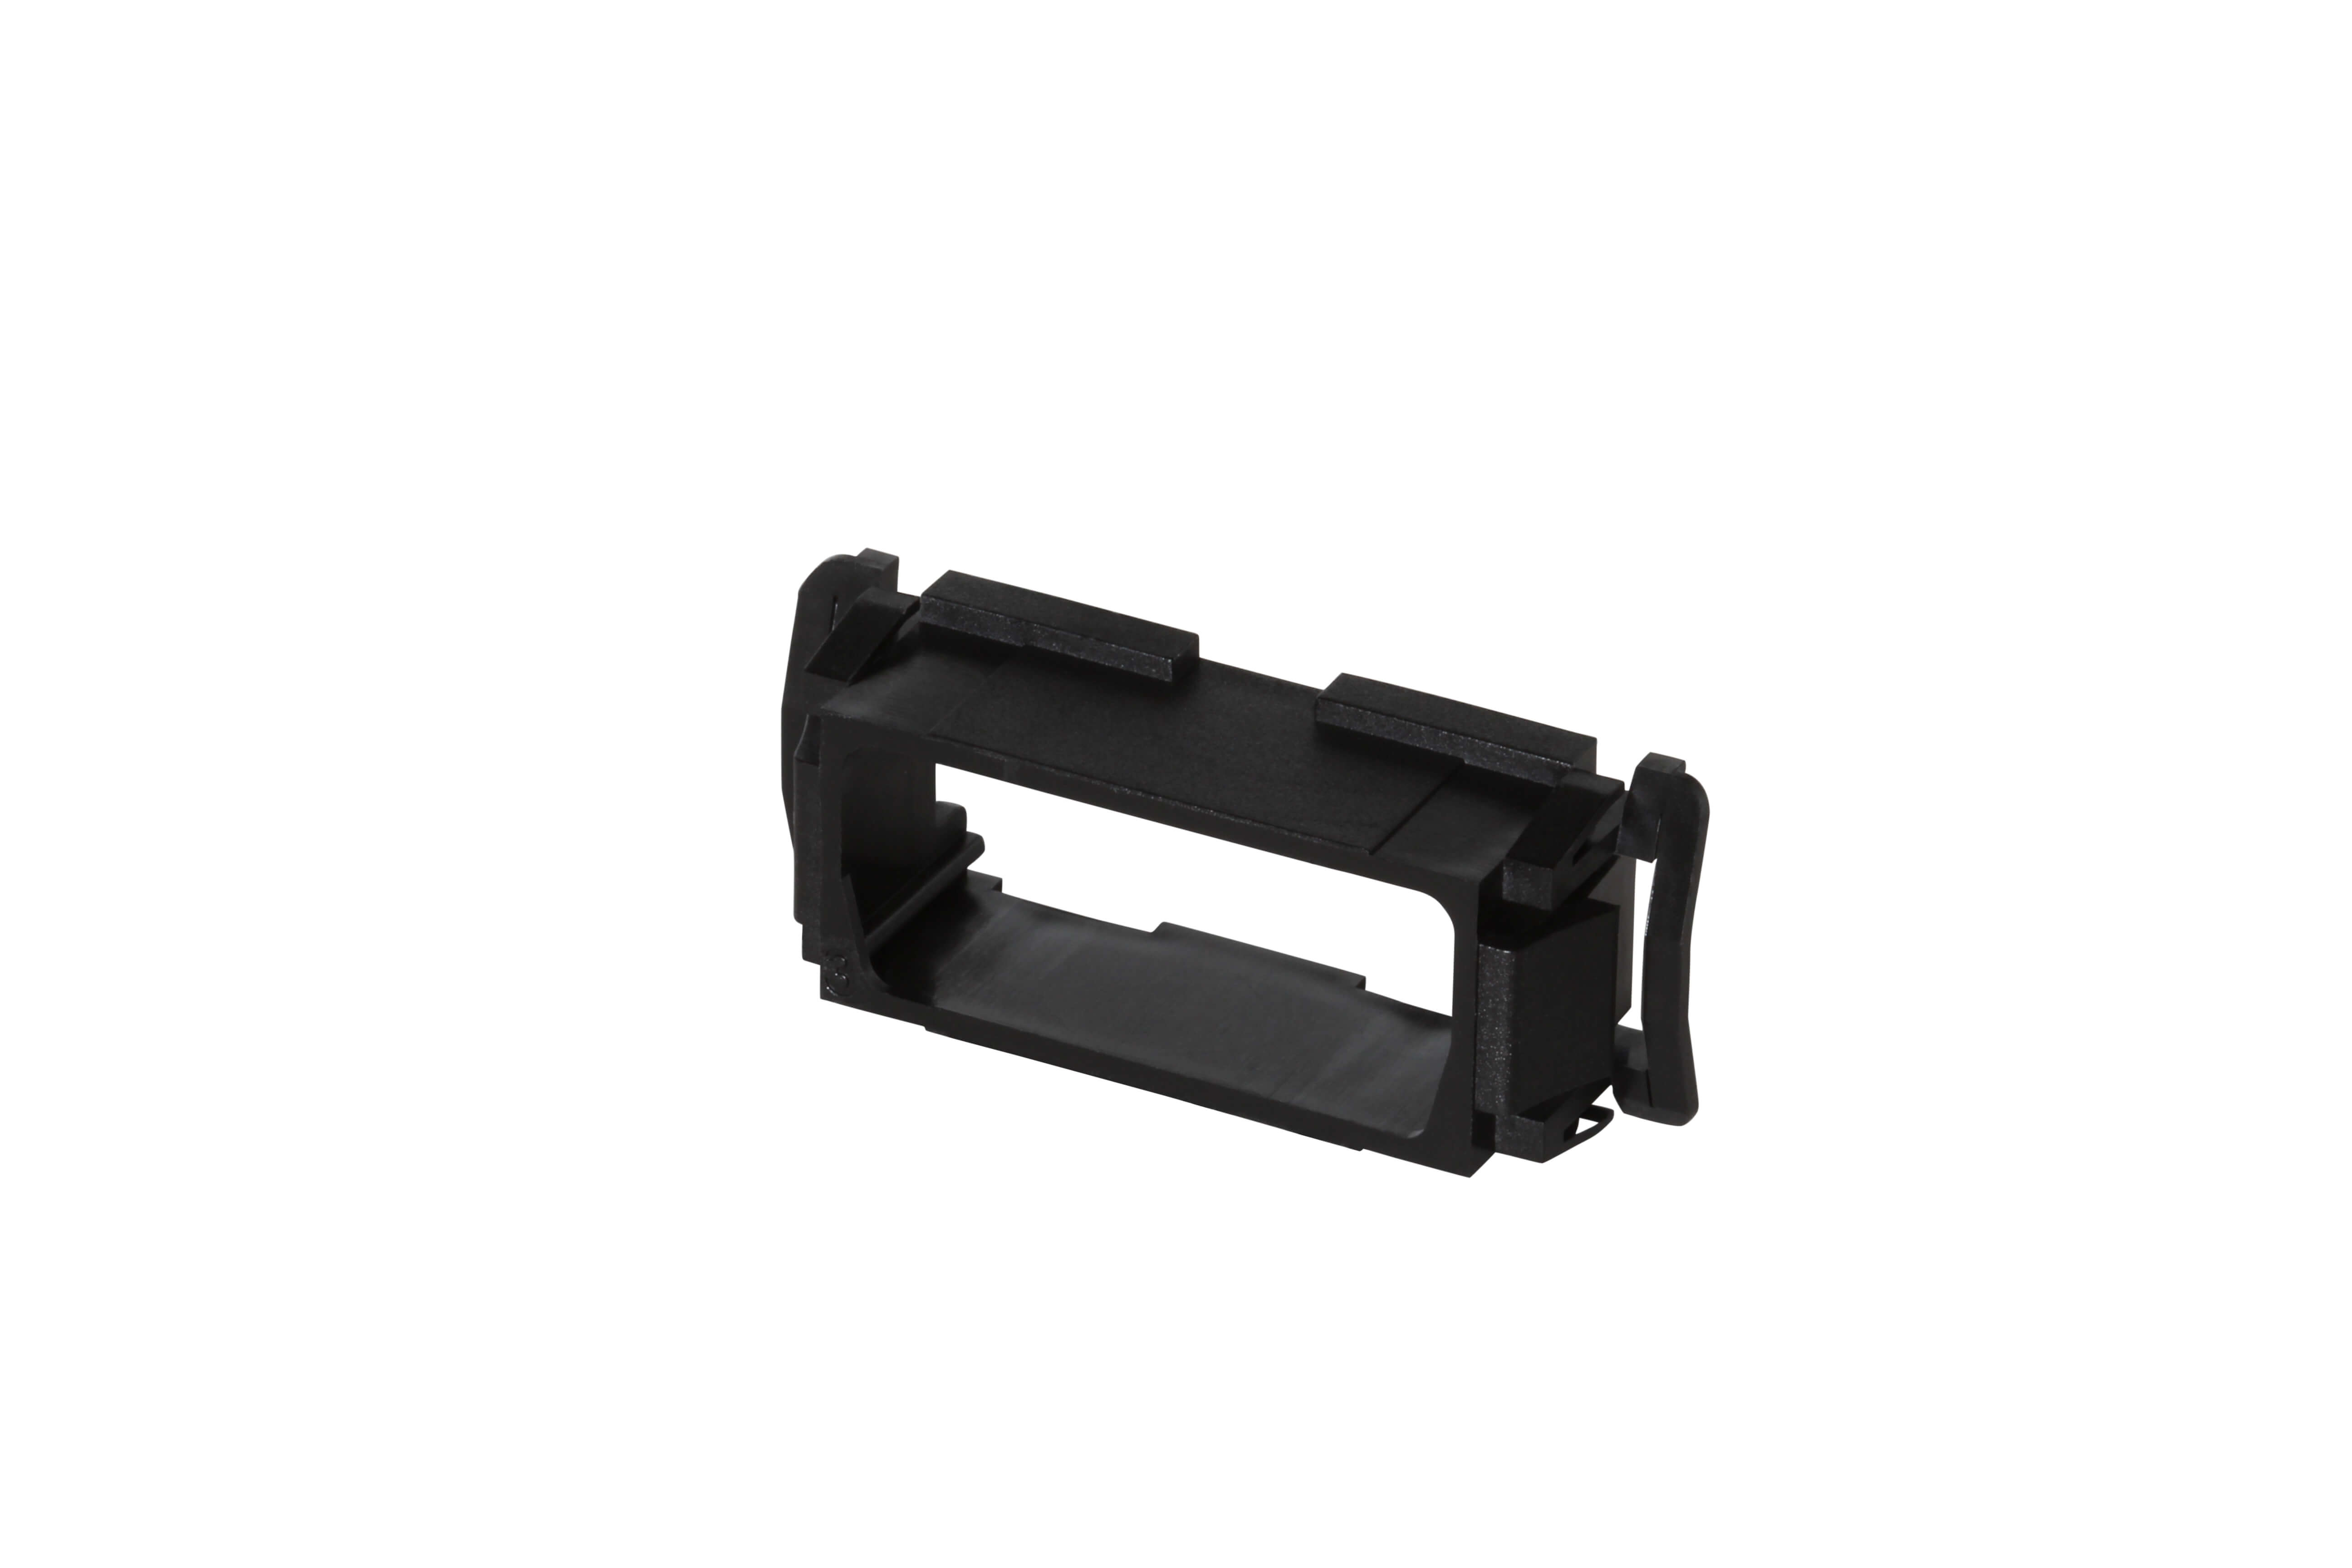
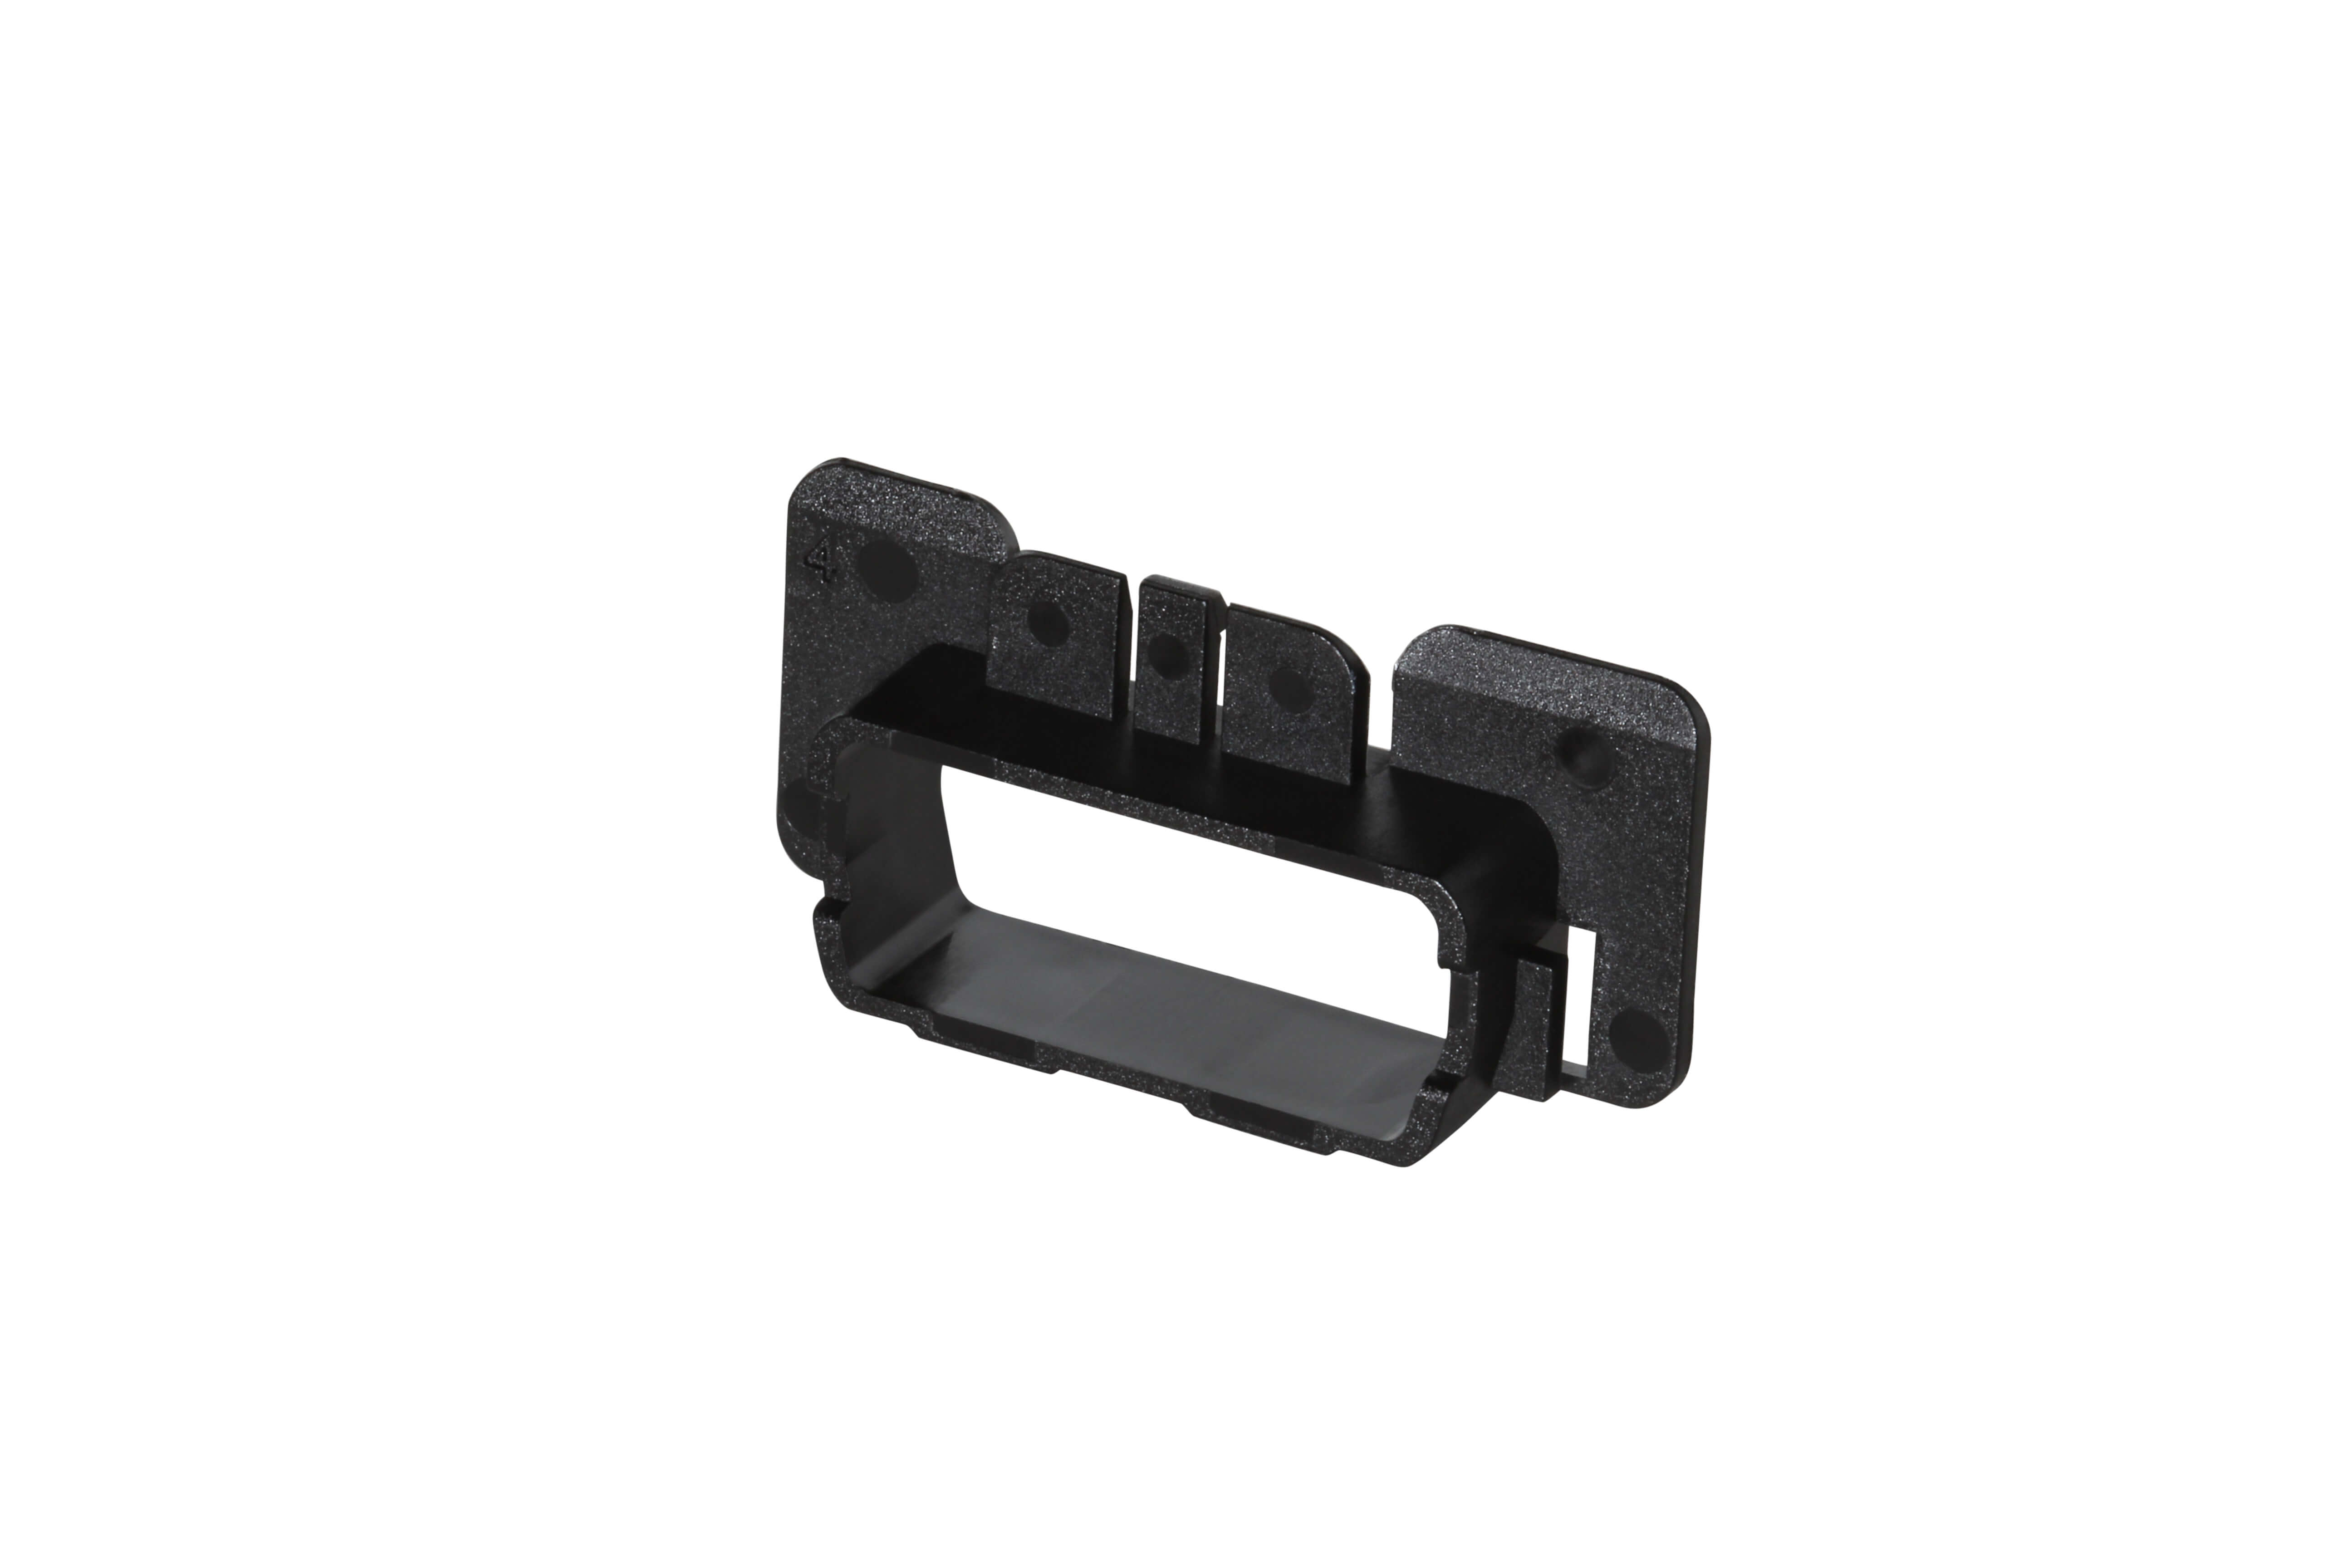
The 12 different mounting adapters allow for installation in different vehicles makes/models and is compatible with most models globally.
Purpose:
- Used to extend the placement of the Geotab GO tracking device.
- This harness moves the GO device out of the way of the driver.
- Required on vehicles where the engine diagnostics port (OBD II) is located in an area that could cause the Geotab GO tracking device to impede the driver.
- Required for vehicles where the recess of the OBD II location prevents the GO device from connecting properly.
- Allows the OBD II port to remain open, to allow the mechanic to insert his/her engine diagnostics scanner.
- Allows for convert installation.
Once installed, the Geotab GO tracking device is not visible, out of sight and inaccessible to drivers and thieves.
Length: 24 inches (60 cm)
How to Install Geotab’s HRN-GS16K22-A OBDII Universal T-Harness Kit
Learn how to install your Geotab Vehicle Tracking Device safely and securely with Geotab’s 16-Pin T-Harness. The specific harness required for your vehicle depends on which port connection your vehicle has. Follow the instructions in this video to ensure your fleet management device has been properly installed.
To check the status of your installed Geotab GO Plug-&-Play Vehicle Tracking Device, visit: https://myadmin.geotab.com/install.htm
If you are unsure about the connector your vehicle has or what harness you need, please contact GPS Tracking America for further assistance. You will need your make, model, and year.
How to Install Geotab’s HRN-GS16K22-A OBDII Universal T-Harness Kit Fleet Management Tracking Device
(Video Transcription)
16-Pin T-Harness installation:
- Locate the diagnostic port, usually found under the dashboard on the driver’s side. Identify the type of port connection, either screws or a snap. Remove the screws or unsnap the port. Connect one end of the 16-pin harness to the diagnostic port.
- Connect the GO device to the other end. You will hear six beeps and all three lights on the device will flash briefly.
- Secure the device in place with a zip tie.
- [With the vehicle parked outdoors to locate satellites and vent exhaust fumes], turn on the ignition. The device will beep as each one of the LEDs lights up. Red indicates ignition detection. Green indicates cell connection. And blue indicates GPS latch. Wait for all three LEDs to come on.
- Zip tie the harness and the GO device up under the dash to a permanent location. To ensure quality of data, the device must not move in any way under the dash. Select the correct plate that fits the port and screw or snap into place. The installation is complete.